31/03/2011


25/03/2011
Mini Skirts Revisited
So here are some other ideas/pictures for converting shirts into mini skirts, the techniques are realtively the same as the T-Shirt mini skirt


24/03/2011
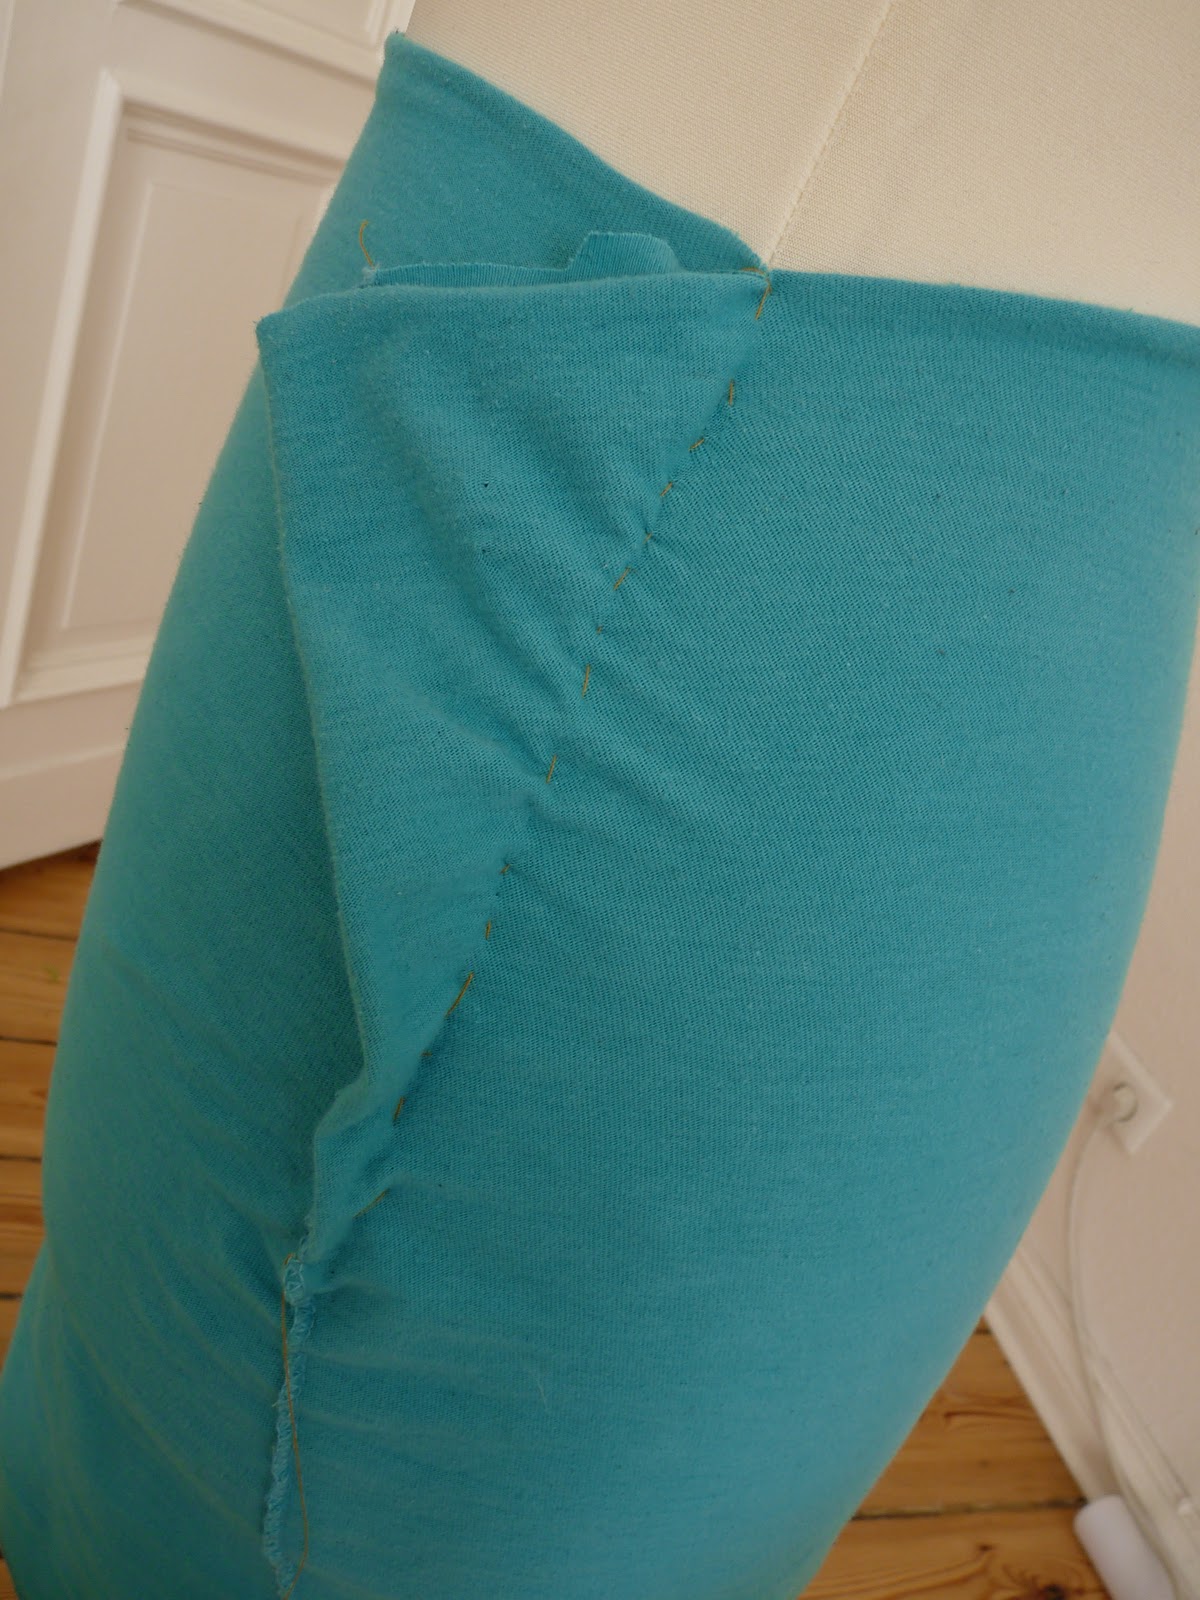
T-Shirt Mini Skirt


4 Easy Steps to making a mini skirt out of old t-shirts. Why throw away when you can re-use and re-create your wardrobe.
Materials:
- thread
- a machine that can do zig-zag stitches or a babylock machine
- a mannequin or model you can drap the fabric on
- pins
- needle and thread for basting


For the pattern
Why is it important to make a pattern? If you make a pattern than you are guaranteed to have straight side seams and a grainline that follows the weave every time. If the side seams aren't straight than you skirt won't fall straight.

- hip curve ruler
- square ruler / transparent ruler
- pencil and pencil crayon
- craft paper
- pins
- glue
Step 2: Using the rulers fix traced lines to best fit. Find the Centre of the pattern, square up from hem. Fold in half, pin and cut. This will be your template for the pattern
Step 3: Take a large enough piece of paper that will fit the skirt twice. Fold in half. Trace the skirt template. Find the centre and draw grainline and add necessary info (ie: front skirt). Pin the fold paper together, and cut out.
Step 4: The second pattern piece will be your back pattern. Mark 1cm in from side seams, and cut. Find centre and draw your grainline, mark necessary info.
The nice thing about jersey is that the edges roll and create an already finished look. However if you want something even cleaner you can make a facing (copy patterns 12.5cm from waistline) or cut 2 of each pattern to create a 2-ply skirt.
22/03/2011

Up-cycle Project 2: Acid Wash Summer Tunic


XL men's dress shirt upcycled into 3/4 sleeve tunic
Materials:
- matching thread
- 2 large buttons, or buttons from the shirt cuff
- 1m ribbon, or twill tape

Step 1: unstitch cuffs, remove errant threads and baste close (or pin). Topstitch.

Step 3: fold 1cm in at cuff, iron, then fold 2cm in, iron and topstich.

Step 4: drape shirt on model/mannequin inside out. Take in side seams, and add a dart below bust point. Sew. Redrape rightside out this time and pin cuffs to tunic at waistline. Thread ribbon through button holes and tie at back. At this point you may decide to add pleats or darts at centre back if there is too much loose fabric. When placement of cuffs is where you want it, measure distance from bottom of pocket to top of cuff, and report measurement to the other cuff. Pin and topstitch from side seam to front of cuff. Change out buttons if doing so.
Like the tunic, but don't have time to make it? I offer custom upcycling on my website or you can purchase this tunic on my etsy site.
17/03/2011
Up-Cycle Project 1: Boyfriend Tunic

You will need a men’s shirt about 2 sizes larger than the size you would like to make, 2 large buttons, and bias tape.
 Step 1: Remove sleeves with a seam ripper, turn inside out and sew a straight line, corner to corner, at armhole.
 Step 2: Place on Mannequin with back side of the shirt facing the front. Unstitch front yoke and adjust, fit along side seams leaving room to create a gathered look when belt is added. Add either a dart or pleat at waistline at the ¼ and ¾ mark. Add “belt” (sleeves), pin in place and adjust fitting as necessary.

Step 3: Sew side seams, yoke and front darts/pleats. Fit on Mannequin.
Step 4: Adjust back according to desired fit, you may have to move the back buttons over, and sew 2 horizontal darts at V-opening so the collar lies flat.

Step 5: Pin belt onto Tunic, sew in place. Add buttons
Subscribe to:
Comments (Atom)